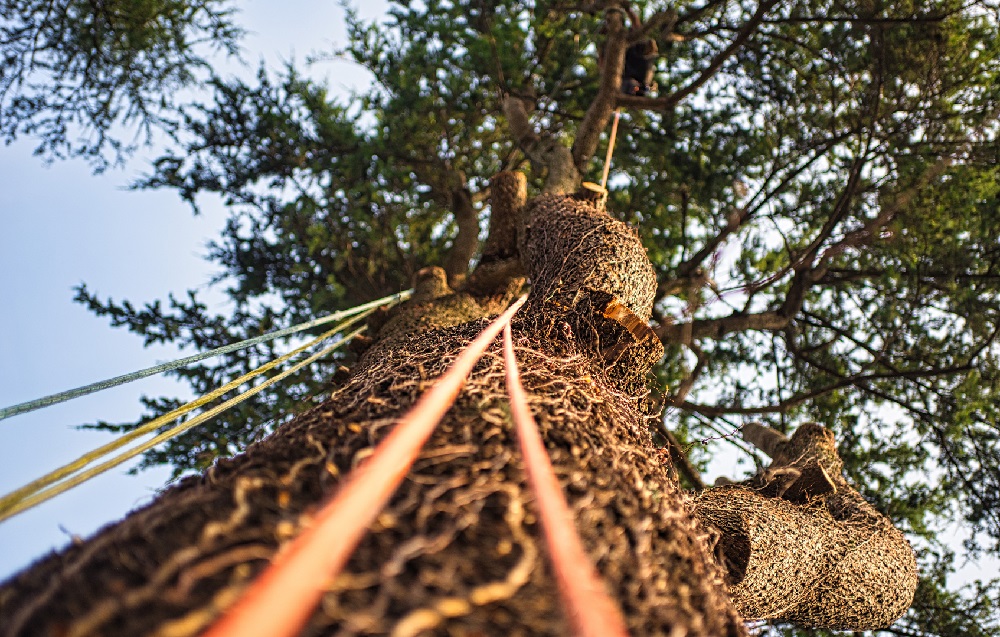
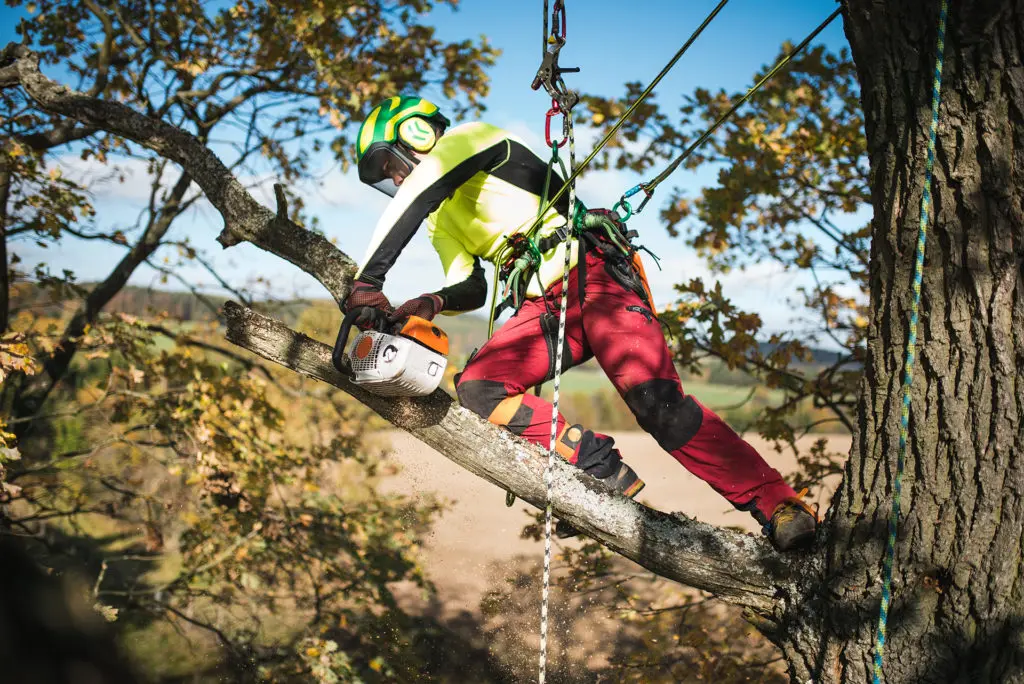
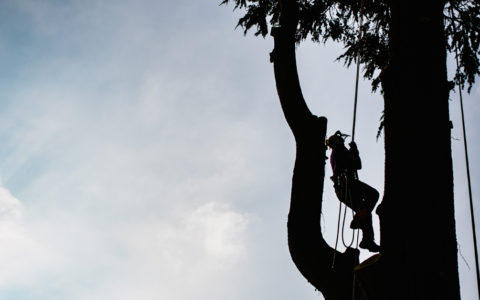
Proper training and techniques are essential to arborist safety, yet it’s all too common for newer workers to be exposed to outdated or improper tree removal information. If training isn’t handled properly, arborists can easily succumb to forgetfulness that breeds bad habits.
Even if the initial training is sound, it’s important for tree removal companies to schedule regular training sessions to ensure all employees brush up on their knowledge.
This is especially important when it comes to the basics of tree rigging. Rigging tree limbs can be an unforgiving job, especially with larger or heavier branches. If you don’t handle the situation properly, the consequences can be deadly.
Let’s take a look at the basics of tree rigging as well as some simple techniques arborists rely on every day.
Why Is Tree Rigging Necessary for Arborists?
Tree rigging is beneficial for a variety of reasons. It can prevent worker injuries, property damage, and power line strikes, for example. In other words, tree rigging puts the arborist in control and takes the guesswork out of removing larger branches.
Cutting branches and letting them fall to the ground is just asking for trouble. The branch could hit a worker or careen off another branch, creating unpredictability.
Things to Consider During Rigging Setup
Before you begin setting up any rigging for an arborist job, consider these three things:
- Where Should the Rigging Block Go?
The rigging block is the pulley placed on a branch in the tree to assist you in lowering newly cut branches. Make sure the limb you use for the rigging block is strong enough to hold the weight of any branches you cut. If the limb you are using is not strong enough, you will have to use a rigging point backup.
Cut pieces will swing as they fall, even if the fall is controlled, so make sure no workers will be in the way. Additionally, make sure no ropes are in the way.
- Examine the Strength of the Tree
A properly rigged tree is similar to a crane, allowing you to lower, lift, and swing limbs. However, any defects in the tree or branches below the rigging point should be identified before you start.
Look for decay columns or any other hazards that might prevent you from adding weight to certain areas of the tree. Rigging setup requires knowledge of wood flexibility and strength, but this knowledge mostly comes from experience. Make sure an experienced worker is on site to assist with rigging.
- Consider Wood Weights and Test Your System First
Make sure to do your homework when it comes to wood weights prior to making any cuts. A green log weight chart should be on hand for you to estimate weights.
Additionally, don’t start with the biggest cuts. Your rigging operation should be tested with some smaller cuts to ensure everything is working properly. It’s recommended to begin with 50% of the weight you plan to control effectively. This ensures you and your help on the ground can get a sense for the job, and it also tests the strength of the tree.

Tree Rigging Requires the Right Rope
No tree rigging system is complete without rope. As advantageous as rope is, it’s important to ensure your rope is strong enough for the job.
For example, the breaking strength of our Sterling 5/8″ Atlas Rigging Line is 18,000 lbs. Take this into account when planning out your rigging system.
Tree Rigging Techniques: Positive vs. Negative Rigging
There are two main tree rigging techniques to be aware of: positive rigging and negative rigging. Both techniques have their advantages, but positive rigging is almost always the preferred choice.
- Positive Rigging
Any situation where you mount the anchor, also known as the rigging block or pulley, above the load is known as positive rigging. Since the rigging anchor is located above the material you are cutting, you have the power to tension the rope and support the load prior to making the final cut.
Positive rigging is often preferred over negative rigging because it reduces the loads and minimizes the strain on the rigging system. Additionally, positive rigging has the option of installing additional pulley points to reduce the load.
Advantages:
- Reduces the load for the anchors and entire rigging system.
- Keeps cut branches from experiencing any free fall and offers more control.
- Extends the life of your rigging equipment.
Disadvantages:
- It can sometimes be difficult to find suitable anchors.
- A second tree may be required to properly set your anchors.
- Negative Rigging
It’s not always possible to install a positive rigging system for a tree removal, which is why negative rigging exists. Negative rigging is when the anchor is placed below the branches you are cutting. Due to this, any material you cut will free fall until tension is created by the anchor and rope it is attached to.
Due to this initial free fall, a branch that weighs 100 pounds might generate a force of up to 600 pounds. It’s easy to see why positive rigging is often the preferred choice.
Advantages:
- The anchor can be placed anywhere on the trunk of the tree.
- It gives arborists the power to use rigging even when there are no anchors above the load.
Disadvantages:
- The load free falls before it is stopped by the rigging system.
- When loads free fall, they exert a force several times their weight on the rigging system.
- The increased wear and tear of this technique may lead to equipment failure.

Don’t Forget Lowering Devices
No matter how skilled or strong your assistant is, they cannot hold more than their own weight. Due to this, lowering devices such as friction rings or a portawrap must be trusted to help them lower heavy loads in a controlled manner.
These lowering devices eliminate the need to wrap lines around nearby trees to create friction, saving time and keeping other trees safe from surface friction damage.
Whether you’re new to tree rigging or you’ve been managing jobs for years, knowing and regularly practicing the proper techniques can help prevent injuries and also improve efficiency. Make sure you are properly equipped for your next rigging job by stocking up on Rock-N-Arbor’s wide selection of proven and durable rigging equipment.

